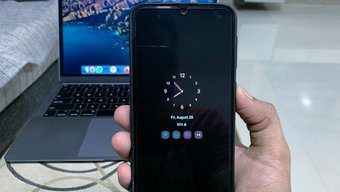
If Always On Display isn’t working as intended, you’ll have to turn your phone’s screen on now and then to check the time and notifications, which can be distracting. So, here are a few simple ways to fix Always On Display not working on Android.
1. Set Always On Display to Show All the Time
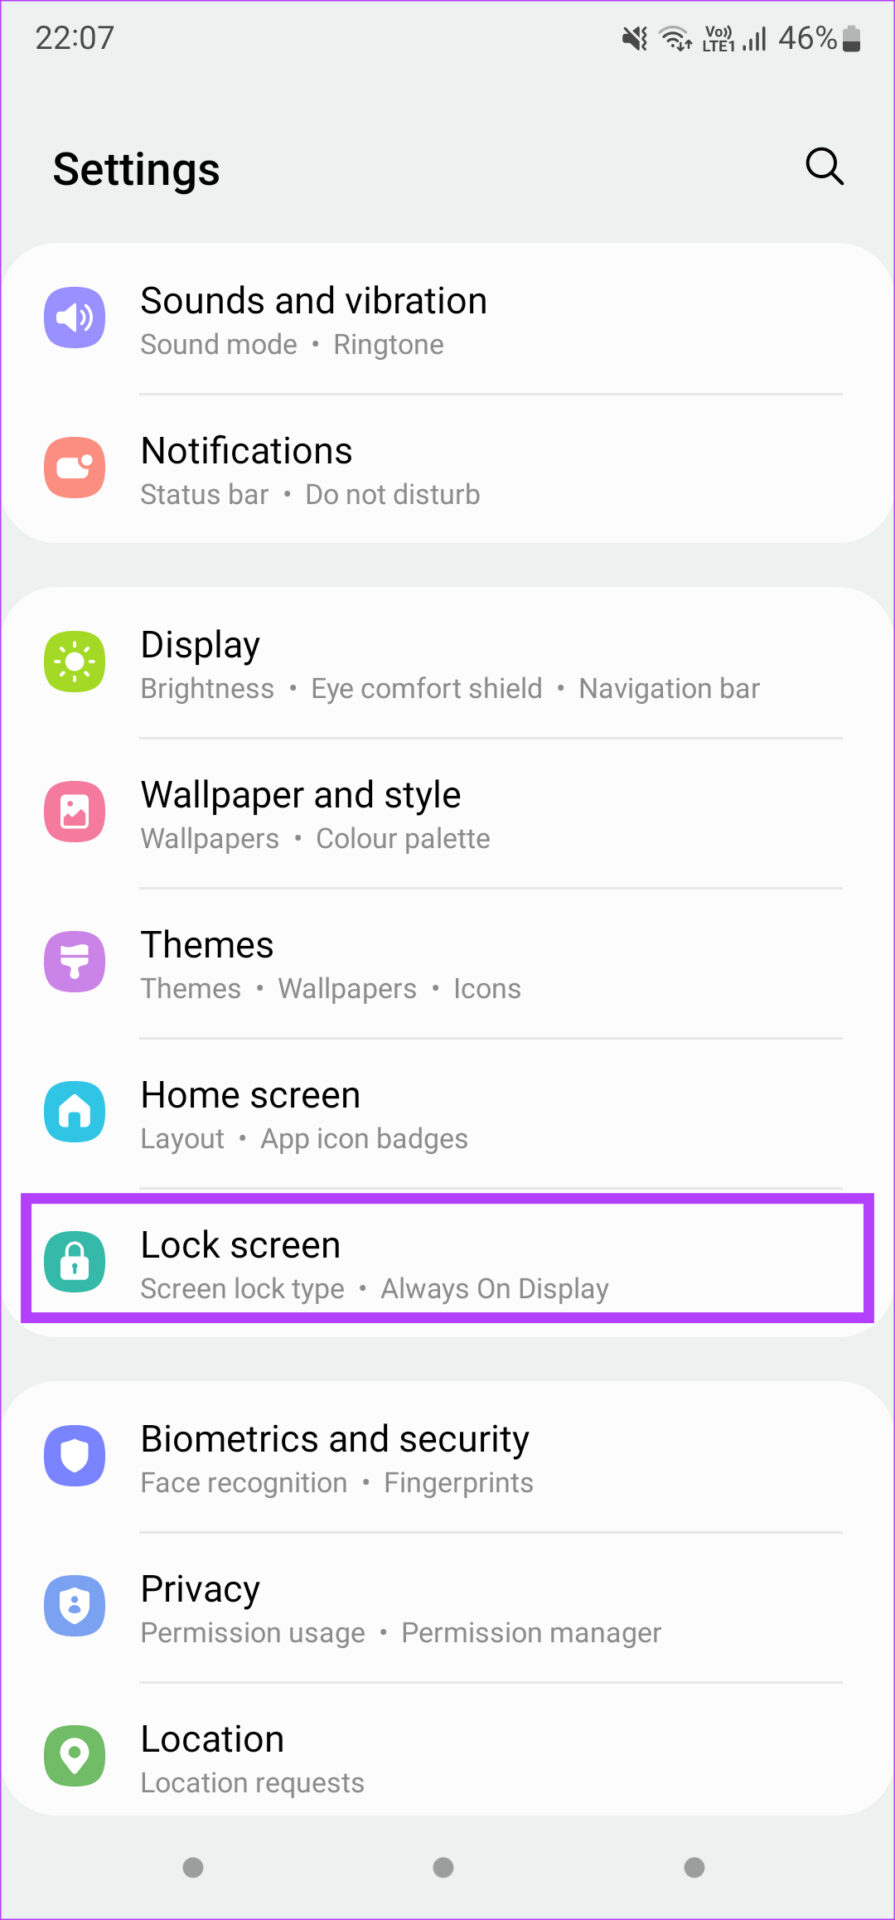
As the name suggests, the Always On Display stays on all the time. Some phones have the default Always On Display setting to show only when you tap on the screen or at a fixed schedule during the day. The Always On Display will not work all the time if you won’t have . Here’s how to fix it. Step 1: Open the Settings app on your Android phone and navigate to the Lock screen section.
Note that on some phones, this setting lives under the Display tab. If you cannot find it, it’s best to use the search bar in the Settings app and look for Always On Display. Step 2: Now, tap on Always On Display.
Step 3: Select Show always from the list of options.
2. Ensure the Proximity Sensor Is Not Covered
Your phone’s Always On Display automatically shuts off when it detects that your phone is in your pocket or when you keep it facing down on a surface. The proximity sensor checks whether there’s an obstruction in front of it. Always On Display is disabled if the proximity sensor is covered.
So, make sure that the proximity sensor is not covered when you’ve kept the phone on a table. Sometimes, accessories like screen protectors and cases can also cover the proximity sensor. Remove them and check if the problem persists.
3. Disable Power Saving Modes
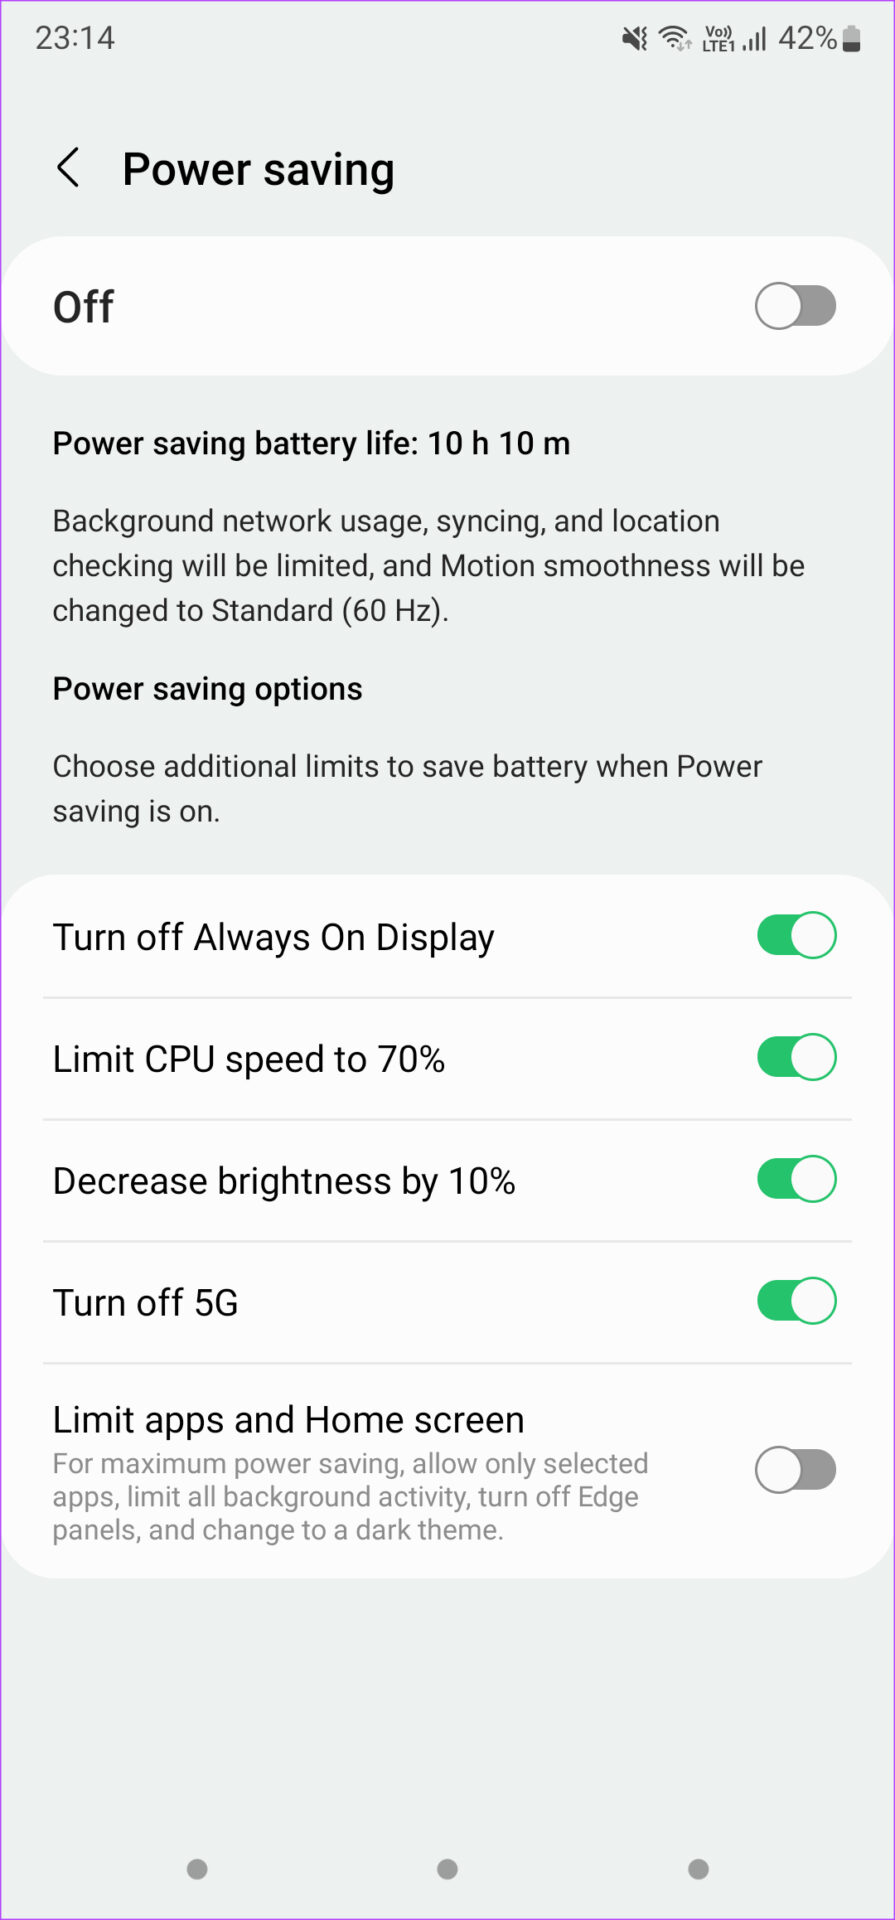
Enabling Always On Display drains more battery than without it. When you enable a power-saving mode or the battery saver on your phone, it disables Always On Display to save additional battery life.
If you want to use Always On Display, make sure the battery saver options on your phone are turned off. Enable power-saving modes only when you’re in dire need of additional battery life.
4. Update the Always On Display App
This solution is specifically for users with a Samsung Galaxy phone. The Always On Display service is provided on Samsung devices by default. If you’re having issues with it, you can update the app to the latest version. Here’s how to do it. Step 1: Open the Settings app on your phone and navigate to the Lock screen section.
Step 2: Now, tap on Always On Display.
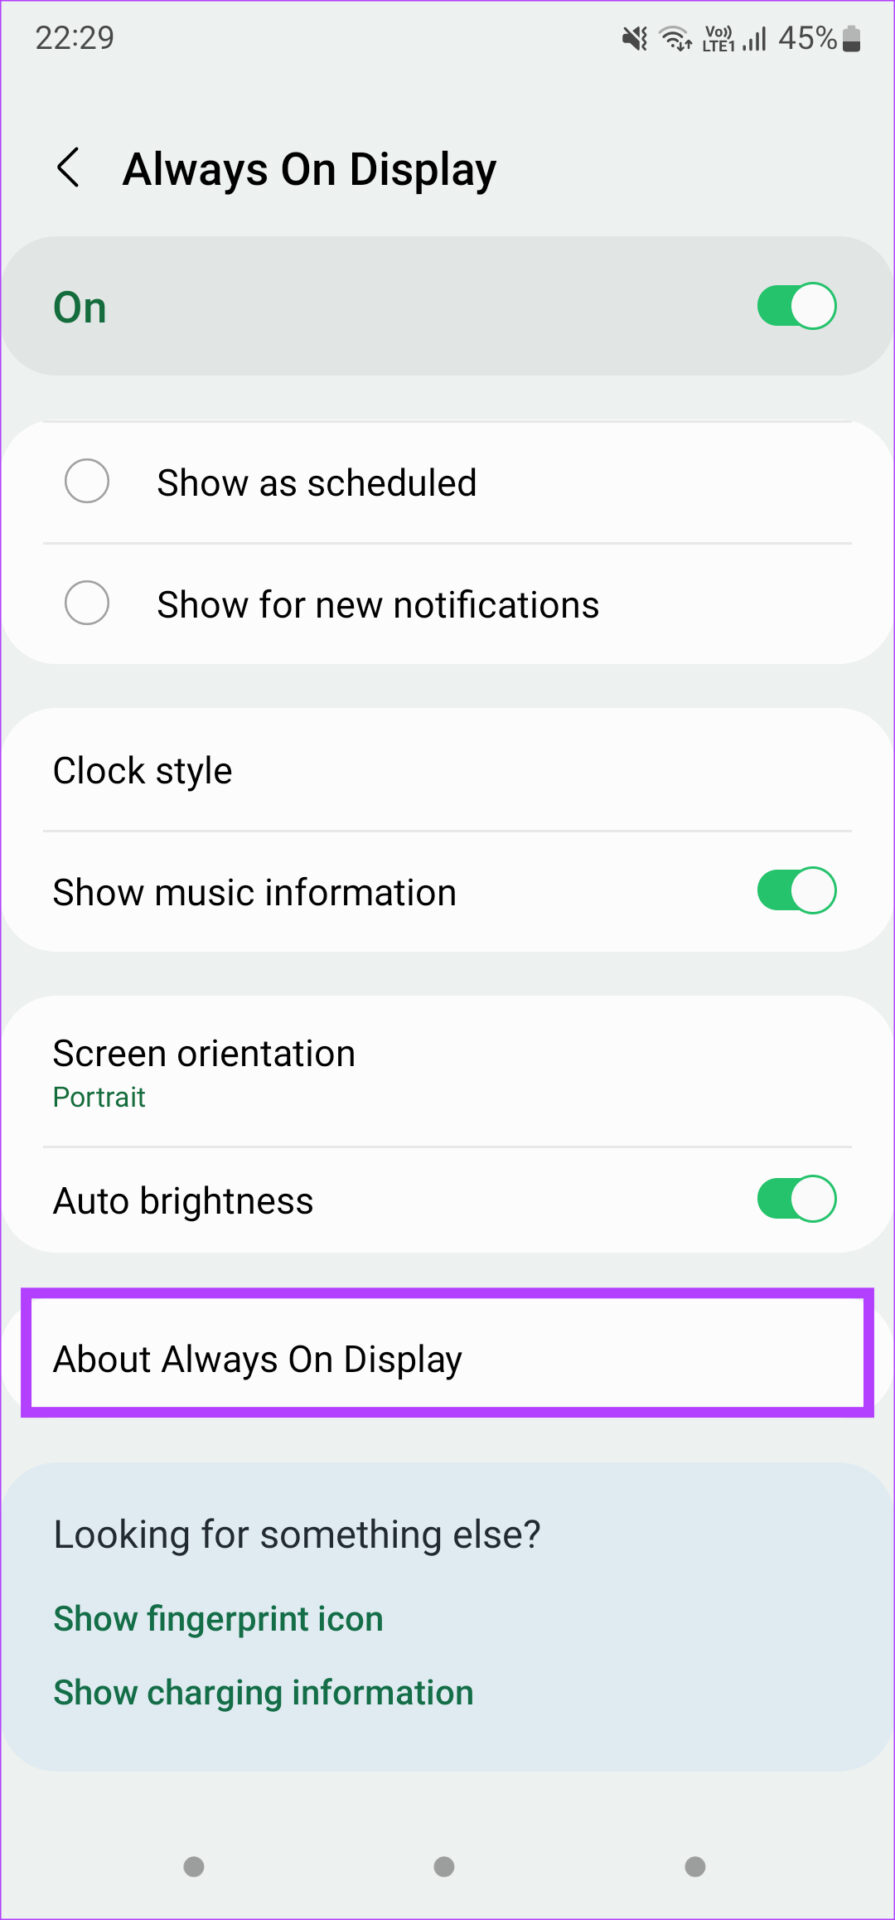
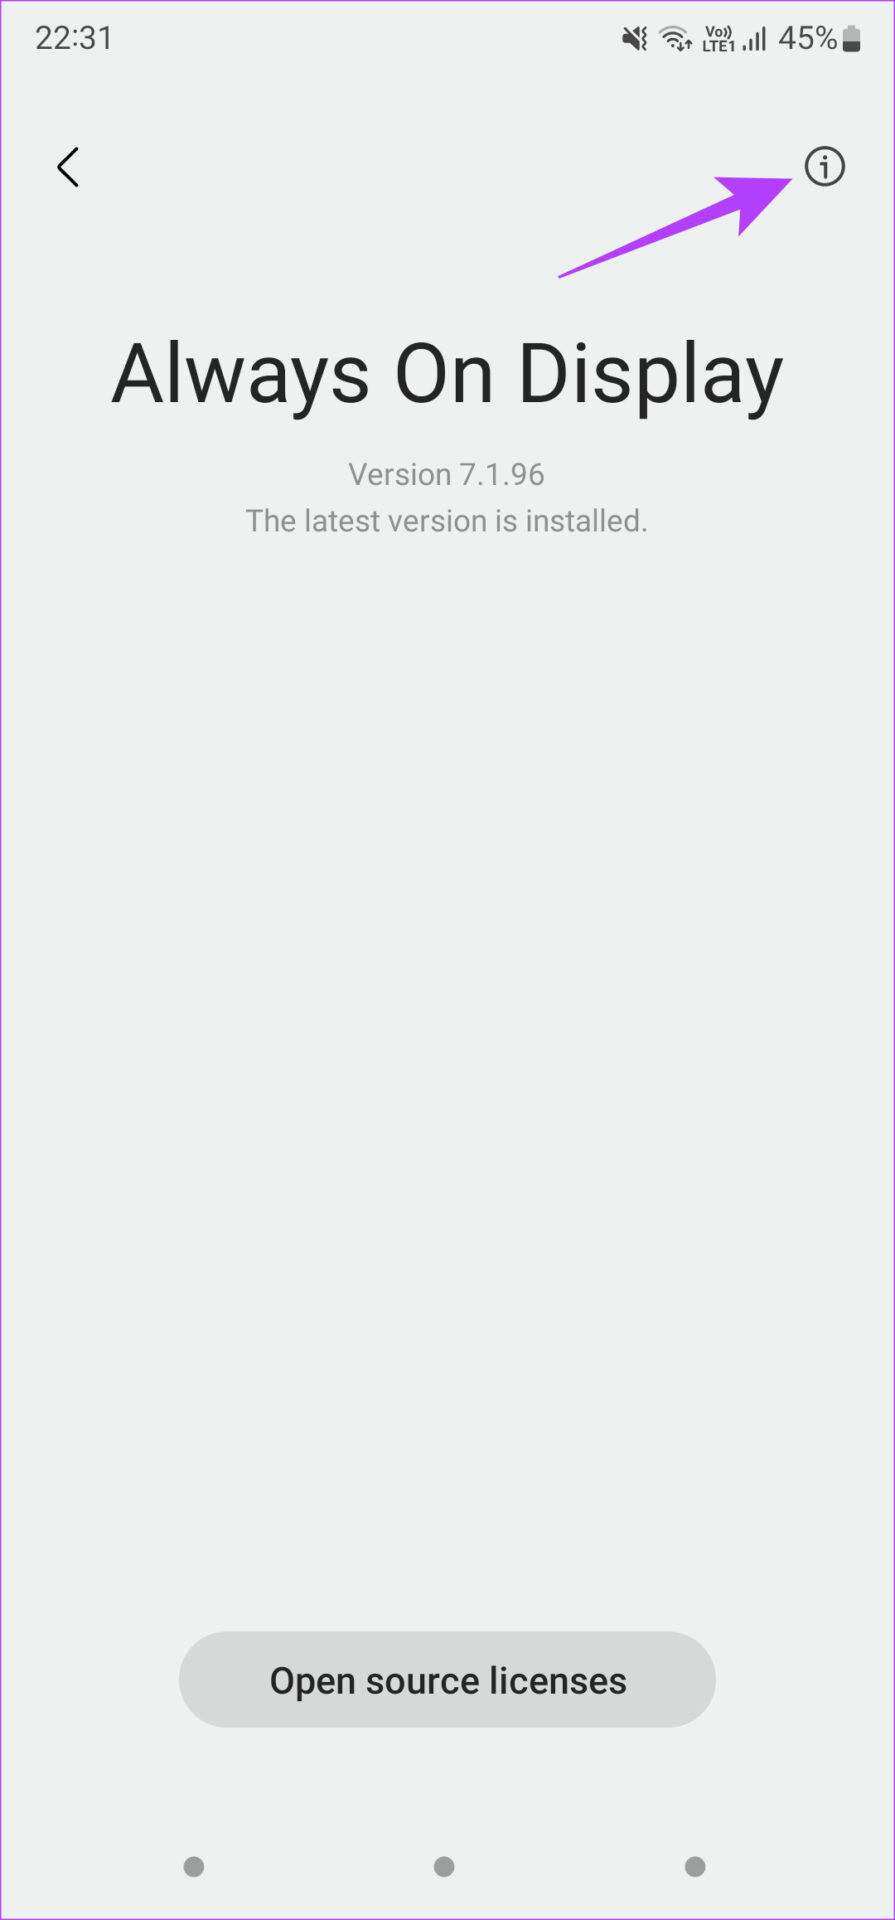
Step 3: Scroll down and select ‘About Always On Display.’
Step 4: Your phone will now check if an update is available for the app. If it is, tap on the Update option and let the process occur. This should fix your issue.
5. Clear Cache of Always On Display App
Here’s another solution that can be helpful if you have a Samsung Galaxy phone with Always On Display. If the previous step of updating the app did not help, you could try clearing the cache of the Always On Display app to see if it makes a difference. Here’s how. Step 1: Open the Settings app on your phone and navigate to the Lock screen section.
Step 2: Now, tap on Always On Display.
Step 3: Scroll down and select ‘About Always On Display.’
Step 4: Tap on the small ‘i’ button in the top-right corner of the screen. This will bring up the preferences for the Always On Display app.
Step 5: Select the Storage option.
Step 6: Tap on Clear cache.
6. Disable Screen Saver
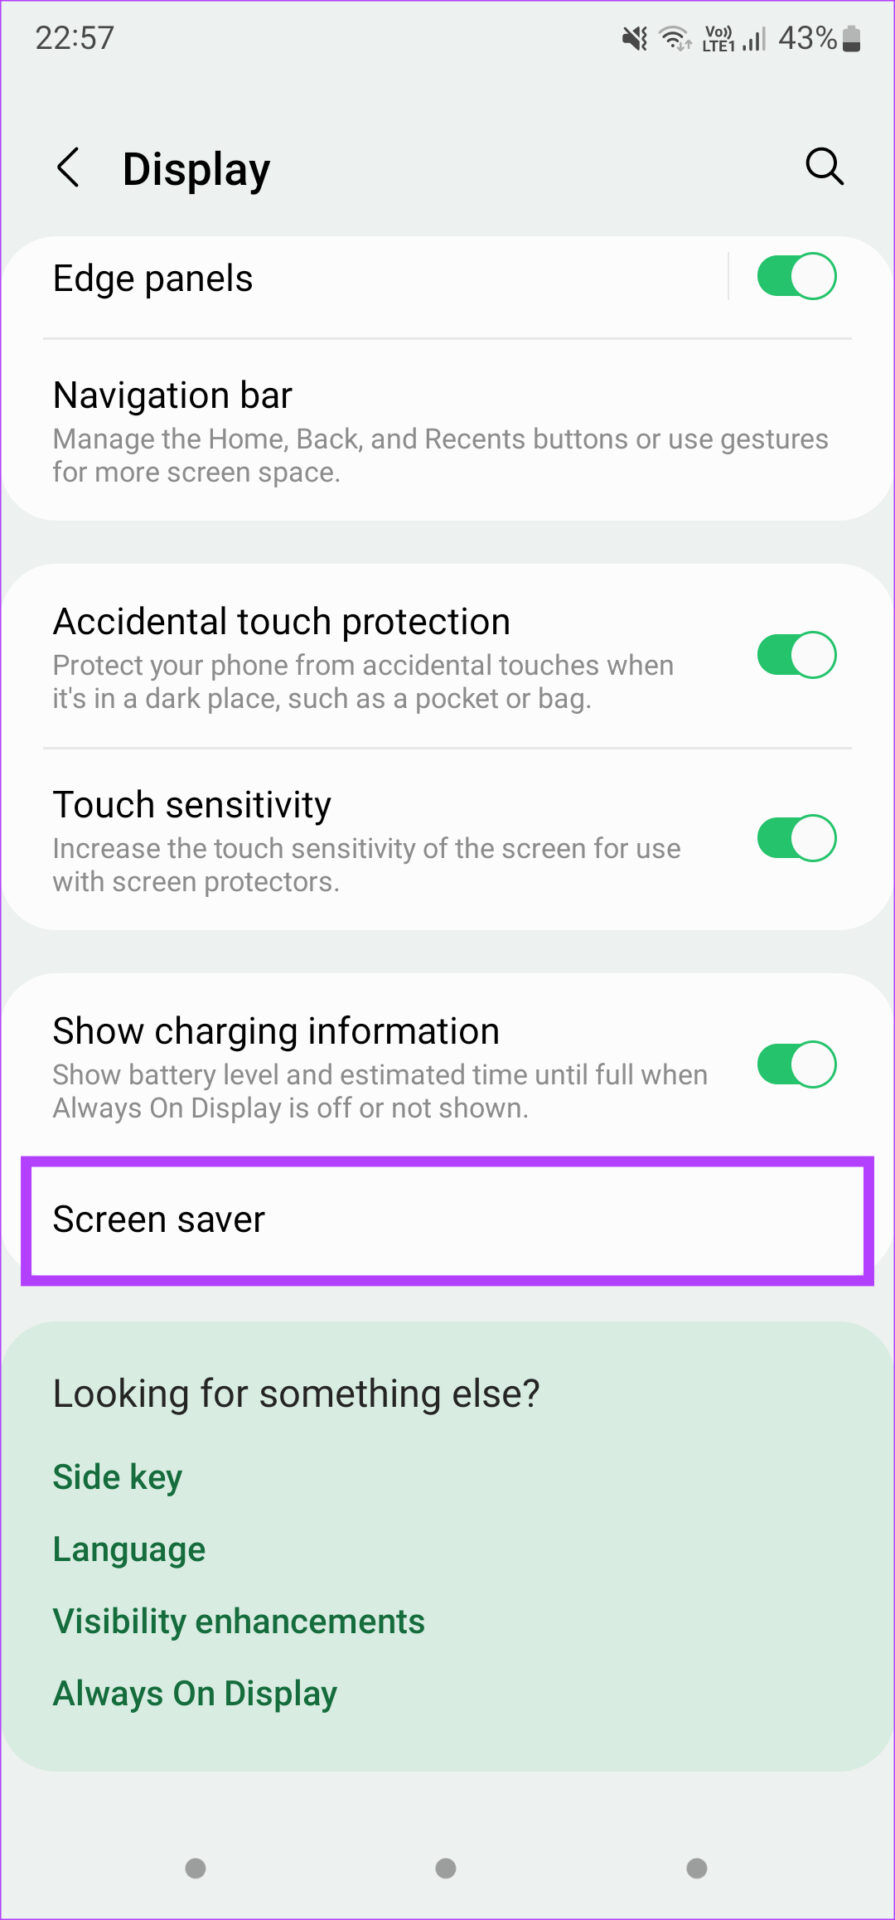
If you’ve enabled a screen saver on your Android phone, it’s possible that it’s overriding the Always On Display, especially when you connect your phone to the charger. Disabling the screen saver is the way to go in this case. Here’s how to do it. Step 1: Open the Settings app on your phone and navigate to the Display section.
Step 2: Scroll all the way to the bottom and tap on Screen saver.
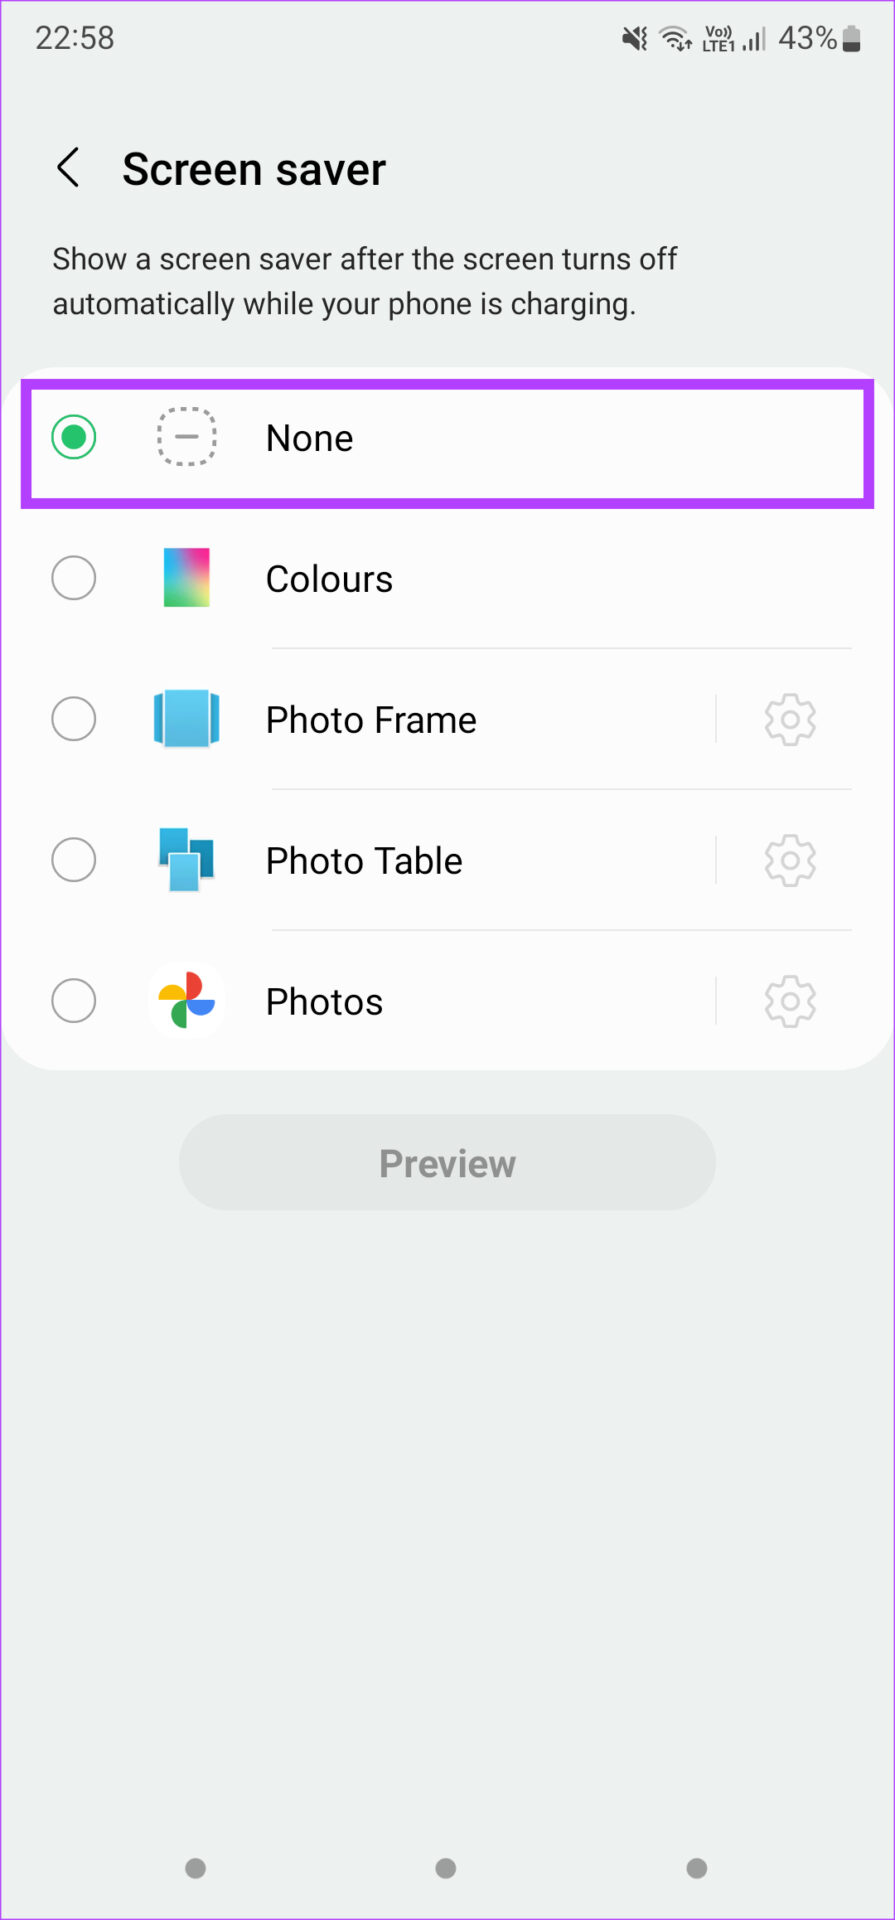
Step 3: Select None.
That’ll disable the screen saver on your phone.
Check Your Notifications With a Quick Glance
Getting used to checking the time and notifications on the phone with Always On Display means there’s no going back. Once you’re used to it, you cannot beat the convenience of just glancing over the screen to check pending tasks quickly. You can use these tips to resurrect Always On Display on your Android phone. The above article may contain affiliate links which help support Guiding Tech. However, it does not affect our editorial integrity. The content remains unbiased and authentic.








![]()

