There is a reason why you are getting this error. In fact, the pop up also mentions that your device’s trash is full. Device trash? Yes, you read that right but technically, the pop up is a little bit confusing as it’s not device’s trash but Google Photos trash that is full. Confused? Don’t be. You will get all the answers including the fix in this post.
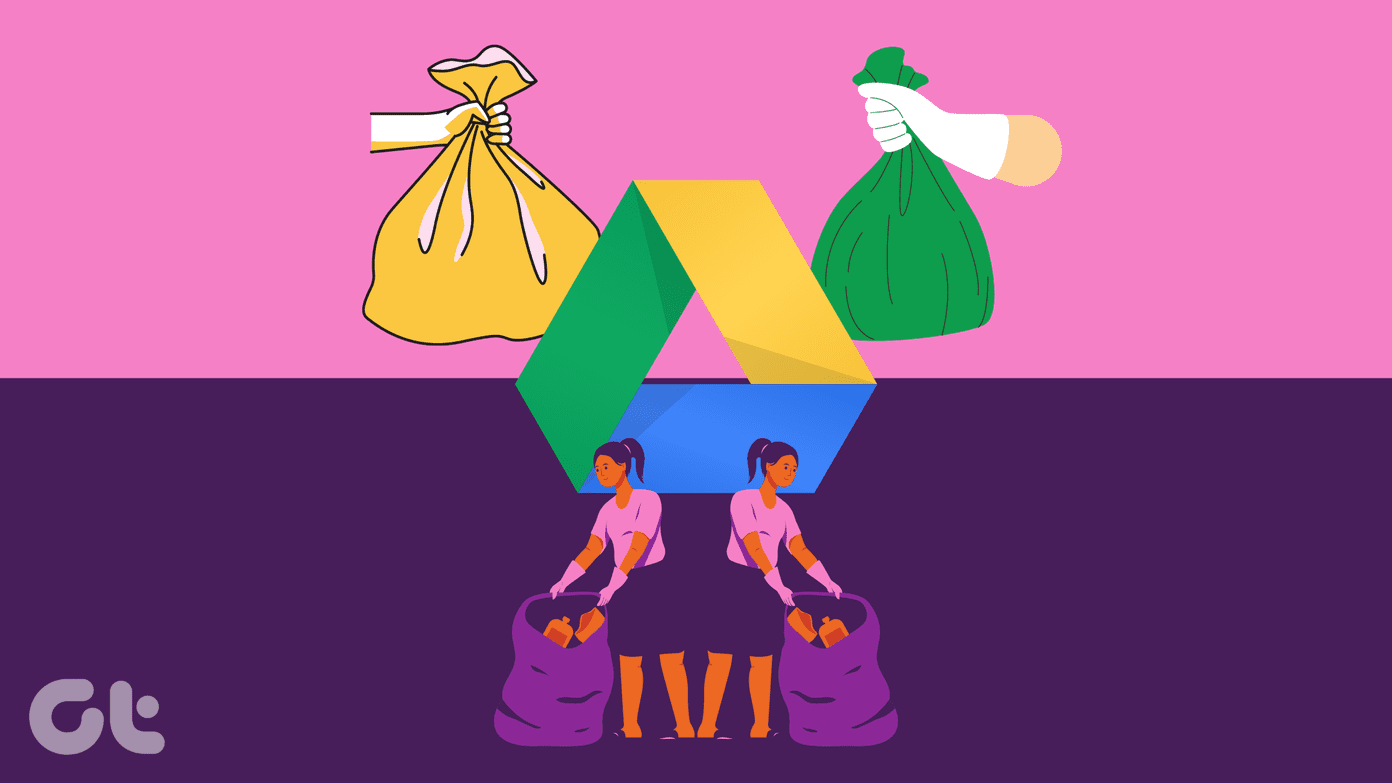
Google Photos Trash
I’m sure now you might be wondering what happens when you delete pictures in Google Photos? Well, similar to Windows, where the deleted items are kept in the Recycle Bin, Google Photos doesn’t delete the media permanently, instead, it saves them in its own version of recycle bin known as Trash. The media is kept in Trash for 60 days and then it is deleted automatically. However, sometimes we delete many photos simultaneously or the new deletions add to the existing Trash, which makes the Google Photos trash full, and hence, you get the Delete item permanently error. Basically, when the Photos Trash is full, the items will be deleted permanently without taking them to Trash first. This removes the chance to restore photos in case you deleted the wrong ones. Now that you know the reason behind the error, let’s get to know how to fix it.
Fix Google Photos Your Device’s Trash is Full Error
To fix this error, all you need to do is empty the Google Photos Trash. Here are the steps to do the same. Step 1: Launch the Google Photos app on your device and tap the hamburger (three-bar icon) at the top-left corner to open the navigation drawer. Step 2: From the drawer, tap on Bin. Step 3: Under Bin, tap on the three-dot menu at the top-right corner and select Empty bin. This will delete all the photos present in the bin and will clear your Trash. In case you want to delete photos individually, long-touch the photo and hit the Delete button at the bottom to remove them permanently. Now if all goes well, you will be able to delete the photos without getting the error. However, if you are still getting the error, try these fixes.
1. Clear Cache and Data
Once you empty the Trash, try clearing cache for the Google Photos app. Here’s how to do it. Step 1: Open device Settings and go to Apps/App Manager/Apps and notifications. Step 2: Then under all Apps, tap on Photos. On the next screen, tap on Storage. Step 3: You will get two buttons: Clear cache and Clear storage/data. Hit the Clear cache button first and restart your device. Open the Google Photos app and try deleting a picture. If you don’t get the error, great! But, if the error is still there, tap on Clear storage/data. This will remove all the Google Photos settings and you will have to log in again to Google Photos.
2. Uninstall the Updates
It’s not possible to completely remove the Google Photos app from an Android device. You will have to uninstall the updates to restore it to the factory version. This will also fix the issue. To uninstall Google Photos updates, follow the steps: Step 1: Open the Play Store on your device and search for Google Photos. Tap on the app. Step 2. On the Google Photos Play Store listing screen, you will find the Uninstall button. Tap on it to remove the updates. Step 3: Once the updates are removed, the Open button will be replaced by Update. Tap on it to update the app. Once the app is updated, try deleting the pictures.
Bonus Tip: Restore Deleted Photos
Thanks to the Trash feature of Google Photos, you can bring back the deleted photos. If at any point in time, you regret deleting a photo and it’s still present in the Trash, use the Restore button to bring it back. Here’s how to do it. Step 1: Open the Google Photos app and tap the hamburger icon at the top-left corner. From the navigation drawer, select Bin. Step 2: Tap the Restore button present at the top. You will be asked to select the photos that you want to restore. Select the photos by tapping them and then hit the Restore button at the bottom. This will restore them to their original location.
Empty it!
We hope you were able to empty the Trash and remove the Delete item permanently error from Google Photos. To further increase storage, you can clean up Google Photos backup. The above article may contain affiliate links which help support Guiding Tech. However, it does not affect our editorial integrity. The content remains unbiased and authentic.