I am going to use an aptly named “All-in-One” Tool made by gohel.vishal, over at XDA. This tool can unlock the bootloader, install recovery, and root the device. You don’t have to write any pesky and long adb commands.
1. What You Need to Know Before We Start
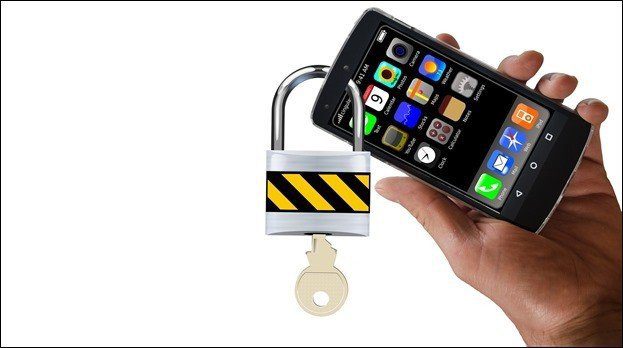
WARNING: This guide is only for Yureka running CM-12. You cannot use this tool on Yureka running Kitkat or else it will get hard bricked. You will understand the process of rooting by this simple infographic. Unlocking the Bootloader will wipe all your user data, so back up everything on your phone before you begin. Also make sure that your phone is charged at least 50%. Before we proceed, we need to enable Developer Options and then Android Debugging. Go to Settings > About phone, scroll down, and tap the Build number 7 times to enable Developer Options. Go to Settings > Developer Options, scroll down and turn off Update Cyanogen Recovery and enable Android Debugging. Last thing – this tool only works on Windows.
2. Installing the Drivers
Step 1: Download the All-in-One Tool. Extract the tool from the zip file to Desktop. Launch the tool, read the warning carefully and press any key to continue. Type 6 and press Enter. Step 2: Follow the PDA-Net setup to install drivers. In the Phone Selection window select Others. Make sure you select USB mode at the end of the installation. You may get an Enable Debugging Mode window if you did not do it earlier. Follow 1 again to enable it.
3. Unlocking the Bootloader
We’ll begin by unlocking the Bootloader. This removes the protection from the internal memory. Without removing this restriction, we can’t install a custom recovery or gain root access. Step 1: Connect the phone to the PC (do not turn it off). It is preferable to connect it directly instead of a hub. Launch the tool again, type 1, and press Enter. Step 2: Your phone will go into fastboot mode automatically. Let the tool do its work. A finished message indicates that the process is done. After the process is over, if your phone is still in fastboot mode and the tool is showing waiting for device, disconnect the cable and it should reboot.
4. Install CWM or TWRP Recovery
Step 1: In the tool, type 4 or 5, based on your choice and press Enter. Step 2: This will start the recovery installation and your phone will again go into fastboot mode. The following image shows the finished operation. To check if recovery is successfully installed, switch off your phone and switch it ON by pressing both the Volume buttons and Power button simultaneously.
5. Finally Rooting Yureka
Before you proceed with this, make sure the recovery is correctly installed in the previous step. Step 1: In the tool, type 3 and press Enter. It will ask you to confirm about recovery and drivers, type 0 to proceed. Connect the phone and the tool will start its work. If after connecting your phone the tool shows waiting for device, the drivers are not installed correctly. Follow step number 2 again to install the drivers. Step 2: Go into recovery mode by holding both Vol buttons + Power button. For CWM recovery select install from SD card and for TWRP select Install. Scroll down to select Root.zip file from the files. Once the process is finished, reboot the device. That’s it, your Yureka is now rooted. To confirm, just look for the SuperSU app installed. If you can’t find it, this means the root was not successful, so repeat step 5.
Conclusion
Now that your Yureka is rooted you can experiment with custom ROMs, block annoying ads, and much more. You can also try Xposed and try some awesome mods. If you have any doubts, share them in the comment section. You can also check out the official tool thread over at xda-developers. The above article may contain affiliate links which help support Guiding Tech. However, it does not affect our editorial integrity. The content remains unbiased and authentic.


![]()
